
How Are Traffic Lights like Video Games? Finite State Machines
I have been a gamer for a very very long time. I played everything. From the Atari 2600, leveling up to the commodore 64, the 8 bit consoles; 16; 32; 64; It never stopped and now I find myself back to 8 bit and commodore games. Simplicity requires the game play to be fun, and very easy to understand.
While that's related and maybe another topic later, the thing that early games got players trained to understand was when you put in the cartridge and turn on the system you should get a Title Screen, and if you didn't you knew something was wrong that for all normal operations of your loved gaming system just shouldn't happen. So you turn it off and maybe blow on the cartridge and put it back in. Now the game turns on and successfully shows you the cool intro to Contra or whatever game your playing and ends with a push start flashing on the screen, and of course push start goes to your starting the game. So how are those two processes of "Hey my game's not working maybe I need to manually intervene based on what it's doing or trying to tell me" and " Hey my game works and it does like usual where I have to wait for the title screen to hit start because I have to do that first." Like a traffic light, you can't just skip from green to red. you at least have to begin to slow down with yellow first or at least check for traffic to avoid a "fatal error" from running full speed into another car skipping straight to Red.
Video games as well as a great deal of software use this construct to control flow. Sometimes its hard to wrangle the concept, especially if its abstracted under many layers of frameworks and other programs on top such as with web development. But lets make a state machine so basic we can adapt it for use in a variety of different programs, and what better way than with a simple text based game structure in Python.
So of course we would need to set up our python virtual environment that is covered in my other examples. First we need to figure out what we will need. A class for State of course, and a class for a StateManager type of thing to run them or a StateMachine! So lets start with our basic State class
class State:
    def __init__(self, state_machine):
        self.state_machine : StateMachine = state_machine

    def enter(self):
        pass

    def exit(self):
        pass

    def pause(self):
        pass

    def resume(self):
        pass

    def handle_input(self, event):
        pass

    def update(self):
        pass

    def render(self):
        pass
Now we have a class to model what would be our basic State. Generally all our states should need these abilities to say what happens when I start, or enter, leave, or draw or render etc. For a class in Python we want to make sure its Capitalized or it wont work. like in many programming languages with a class structure it must be a Capitalized name. Next we init the class with self as a requirement for all functions in a class as they are acting on its (self) during init we make the state machine that will run the State accessible by adding self.state_machine = state_machine. While this may not make as much sense now lets add the basics of our state machine to make it a little more clear.
class StateMachine:
    def __init__(self, initial_state_class, debug=False):
        self.state_stack = []
        self.debug = debug
        self.push_state(initial_state_class)

    def push_state(self, state_class: State):
        if self.state_stack:
            self._log(f"Pausing {self.current_state().__class__.__name__}")
            self.current_state().pause()

        self._log(f"Pushing {state_class.__name__}")
        state:State = state_class(self)
        self.state_stack.append(state)
        state.enter()
        self._print_stack()

    def current_state(self) -> State:
        return self.state_stack[-1]

    def clear(self):
        if os.name == "nt":
            os.system("cls")
        else:
            os.system("clear")

        # ---------- Debug helpers ----------
    def _log(self, message):
        if self.debug:
            print(f"[FSM] {message}")

    def _print_stack(self):
        if self.debug:
            stack = " > ".join(state.__class__.__name__ for state in self.state_stack)
            print(f"[FSM STACK] {stack}")
So our StateMachine class init like all classes starts with self as the first parameter to say im acting on my self or my instance with this action. I want it to start with a state object ready to go with initial_state_class, and just for making testing out the logic easier lets add debug messages that can be turned off or on with debug being a boolean defaulting to false.
So what is self.state_stack? There are a few ways to go about handing a collection of states but I like the concept of a stack or an Array of states. This way they are in a list we can count through like a traffic light. So we start it out as an empty array with the empty brackets or []
and then we call our own internal function push_state with our inital state class to make our starting state. So whats with the arrow -> after it? This is saying rather than just doing some sort of moving numbers around this part returns a state object as a result to send along to whatever next steps need a State object.
So our push_state is taking in a state, or at least we hope since really anything could have gotten into that array by accident under more complex designs so lets help it out by writing the parameter as state_class: State. the colon : State after the parameter is really more to hint the program that this random parameter should only be a state. The reason is because we dont have specific names or even want to deal with handling edge cases for those by hand thats what the StateMachine is for so we can find the names of this random object with self.current_state().class.name, that we defined as another function below to select the top state of the state_stack array or kind of like adding a card to the deck.
For our debug log we have our helper functions log and print_stack to store text of each step with the layer of the State stack it was currently in.
And a simple clear function to clear text from the terminal that is different if you are using windows or Linux so lets make it not crash if its on another machine by changing the command for NT windows to posix or unix'ish operating systems.
So it's starting to make a bit more sense just from these little bits of control, lets flesh out the rest of the StateMachine class with reset_state pop_state change_state
    def reset_state(self, state_class:State):
        self._log(f"resetting state stack to: {state_class.__name__}")
        while self.state_stack:
            state = self.state_stack.pop()
            state.exit()
        self.push_state(state_class)

    def pop_state(self):
        if not self.state_stack:
            self._log("State stack empty — cannot pop")
            return

        state = self.state_stack.pop()
        self._log(f"Popping {state.__class__.__name__}")
        state.exit()

        if self.state_stack:
            self._log(f"Resuming {self.current_state().__class__.__name__}")
            self.current_state().resume()

        self._print_stack()

    def change_state(self, state_class):
        self._log("Changing state")
        self.pop_state()
        self.push_state(state_class)
So now we add reset_state, pop_state, and change_state to complete our flow controls. Our pop_state is the opposite of push_state, where we were adding a state to the list here were are removing the topmost card or state from the deck. We call state.exit() on the state from our exit function defined in the State class to run anything we need to close out any operations we have in the exit phase of the State and then look at our state_stack and pop() or remove the top card from the deck, and replace or push_state with a new card or state_class object.
In pop_state we will duplicate the pop state from the list idea but since reset was for a specific case of resetting or almost a transaction to say transaction reverts back a step and replaces with a new state. Here we are only removing a state to prepare it for transitioning to the next step in the state stack with change_state.
now we need to finalize with our remaining steps or actions the StateMachine will handle
    def handle_input(self, event):
        self.current_state().handle_input(event)

    def update(self):
        self.current_state().update()

    def render(self):
        self.current_state().render()
Similar to States handing input, we need to let the StateMachine know the State is asking to receive or handle input from the StateMachine so the same steps should be called for update to process something larger if needed and render to draw the results to the screen. Note how these are all passing through with our current_state() function to allow the currently running state to be called by StateManager.
So now we have our State object and a StateMachine object. We can look at it now and see how it works by having states that contain different things. But we just have that plain empty state to fill it with and that doesn't do anything. So we get to the fun part and extend the State.
class MainMenuState(State):
    def enter(self):
        self.state_machine.clear()

    def handle_input(self, event):
        if event == "1":
            self.state_machine.push_state(CreateCharacterState)
        elif event ==  "2":
            print("Load a saved game")
        elif event ==  "3":
            self.state_machine.push_state(AboutState)
        elif event == "4":
            quit()
        else:
            print("Please choose a valid option.")

    def render(self):
        print("\n--- Main Menu ---")
        print("")
        print("1: Start New Game")
        print("2: Load Saved Game")
        print("3: About")
        print("4: Quit.")
        print("")
        print("Make a selection.")

class AboutState(State):
    def enter(self):
        print("Some words for about.")
    def handle_input(self, event):
        if event:
            self.state_machine.reset_state(MainMenuState)
Here we have some new States MainMenuState(State) and AboutState(State). By adding the parenthesis these are now objects that inherit the properties of their base object which is a State, so they include everything a state can do but can add features on top, kind of like putting a hat on a cube, its still a cube, but with an extra hat feature on top. Because of this we only need to plug just what we need into each state since the groundwork is already there.
So we follow our pattern of State. we enter a state as in MainMenuState with enter(self):
and we want to clear the terminal window of text so we have a clean screen to work with by self.state_machine.clear()
It is a menu so it will just sit and wait for input from a user with handle_input. We render() our text to the screen during render to print out the menu options and check if the selection is valid. Pressing 4 sends the quit() command to end the program while 3 will trigger push_state to add a new state to the stack and then will run its change_state process.
We have AboutState as our placeholder for now to just print a message and wait for input. Since we want to only draw one State from the top of the deck and not add a new one, we use our state_machine.reset function to start with an empty stack of cards starting at MainMenuState.
So we have a basic back and forth switching of at least two states we can test now. Lets try it and start a new StateMachine object and run it
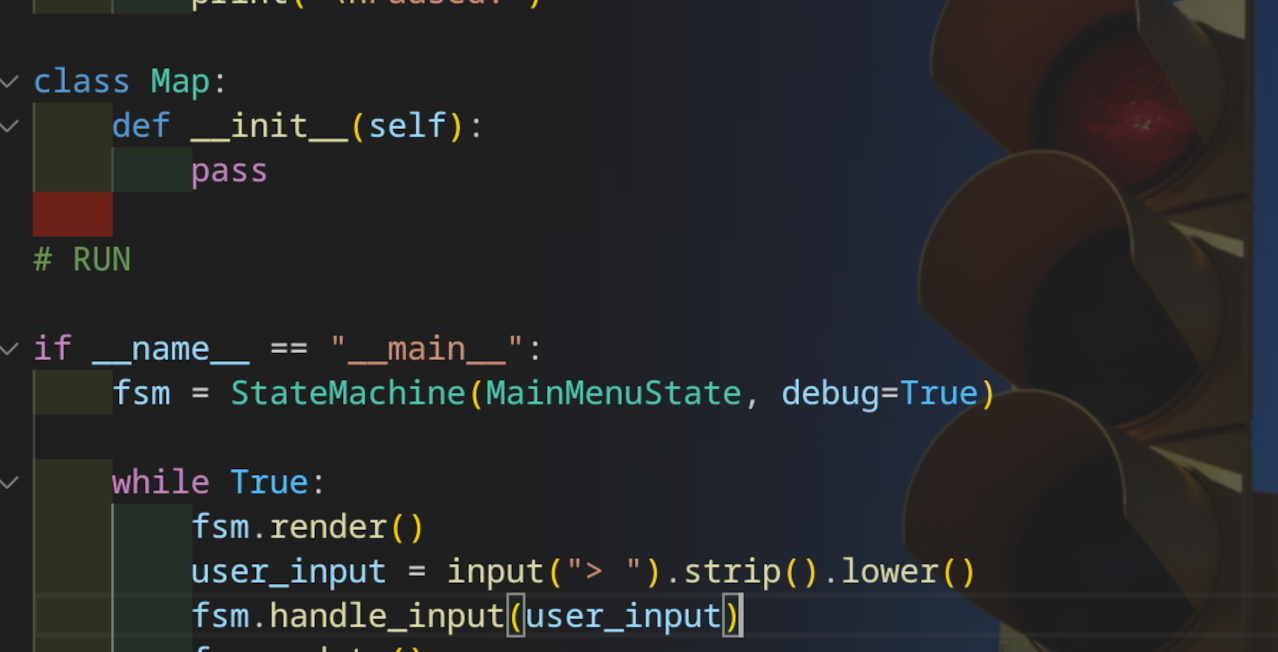
if __name__ == "__main__":
    fsm = StateMachine(MainMenuState, debug=True)

    while True:
        fsm.render()
        user_input = input("> ").strip().lower()
        fsm.handle_input(user_input)
        fsm.update()
Here what we are doing is saying our entry point is this file with if name == main
We then create an instance of our StateMachine object and start its main loop. so While True just starts a loop that runs until a command to quit. The StateMachine renders the current state, MainMenuState - We set our debug to true to turn on our debug messages, and cycle through the states steps until signaled to change State.
[FSM STACK] MainMenuState

--- Main Menu ---

1: Start New Game
2: Load Saved Game
3: About
4: Quit.

Make a selection.
>
So our output shows our main menu and our debug message to show our current state_stack location, here we are at main menu as there is nothing else in the stack.
> 3
[FSM] Pausing MainMenuState
[FSM] Pushing AboutState
Some words for about.
[FSM STACK] MainMenuState > AboutState
>
Here we selected 3 for About and our debug message now shows our stack at AboutState on top of MainMenuState. typing new input returns to MainMenuState and our stack is once again only MainMenuState.
So now we have a simple state machine with some States, Now we can add more Such as we will need States to contain game play, pausing, etc. Many states come to mind when you think of any task really and the concept can be adapted to most.
Comments ()