
Use ComfyUI as a docker container

Now we can start with getting to the fun stuff with ComfyUI. This tool will allow us to work with generative models for video, images, 3D, audio and more in a node based workflow without writing code.
Using ComfyUI as a docker image simplifies the process of adding the necessary requirements.
The first thing will be to find an image to use. I normally use https://hub.docker.com/r/yanwk/comfyui-boot but there are a variety of options.
For a more permanent setup, on the github page of the project there are docker compose files to build the container but for simplicity we will just pull it and run. The run command could be saved and run as a script the same way so its more a personal preference really. If we follow the instructions on the page we find we might want to change some things
mkdir -p storage

docker run -it --rm \
  --name comfyui-cu124 \
  --gpus all \
  -p 8188:8188 \
  -v "$(pwd)"/storage:/root \
  -e CLI_ARGS="" \
  yanwk/comfyui-boot:cu124-slim
First we create the directories for storage as shown. 'pwd' is a shortcut to your current directory so you would need to be in the root of the folder where you will store ComfyUI's data, or write out the full path instead, if your planning on saving this as a script the full path might be a better idea as 'pwd' is your current directory when the script is ran. Also your cuda version may be different and want to use the latest. As of now this image supports cuda 12.8. Check your version.
nvcc --version-
So I have cuda 12.9 and will change the the latest current version supported in this image.
yanwk/comfyui-boot:cu128-slimThe -p flag will determine where this container is available so -p 8188:8188 should share to the local area network. If the computer is standalone this is nothing to worry about but if your using it in a network you probably want it available. If you really dont want it to be shared modify the line as so.
-p 127.0.0.1:8188:8188Once it builds open it the address in a browser and we have the ComfyUI interface and an example workflow.
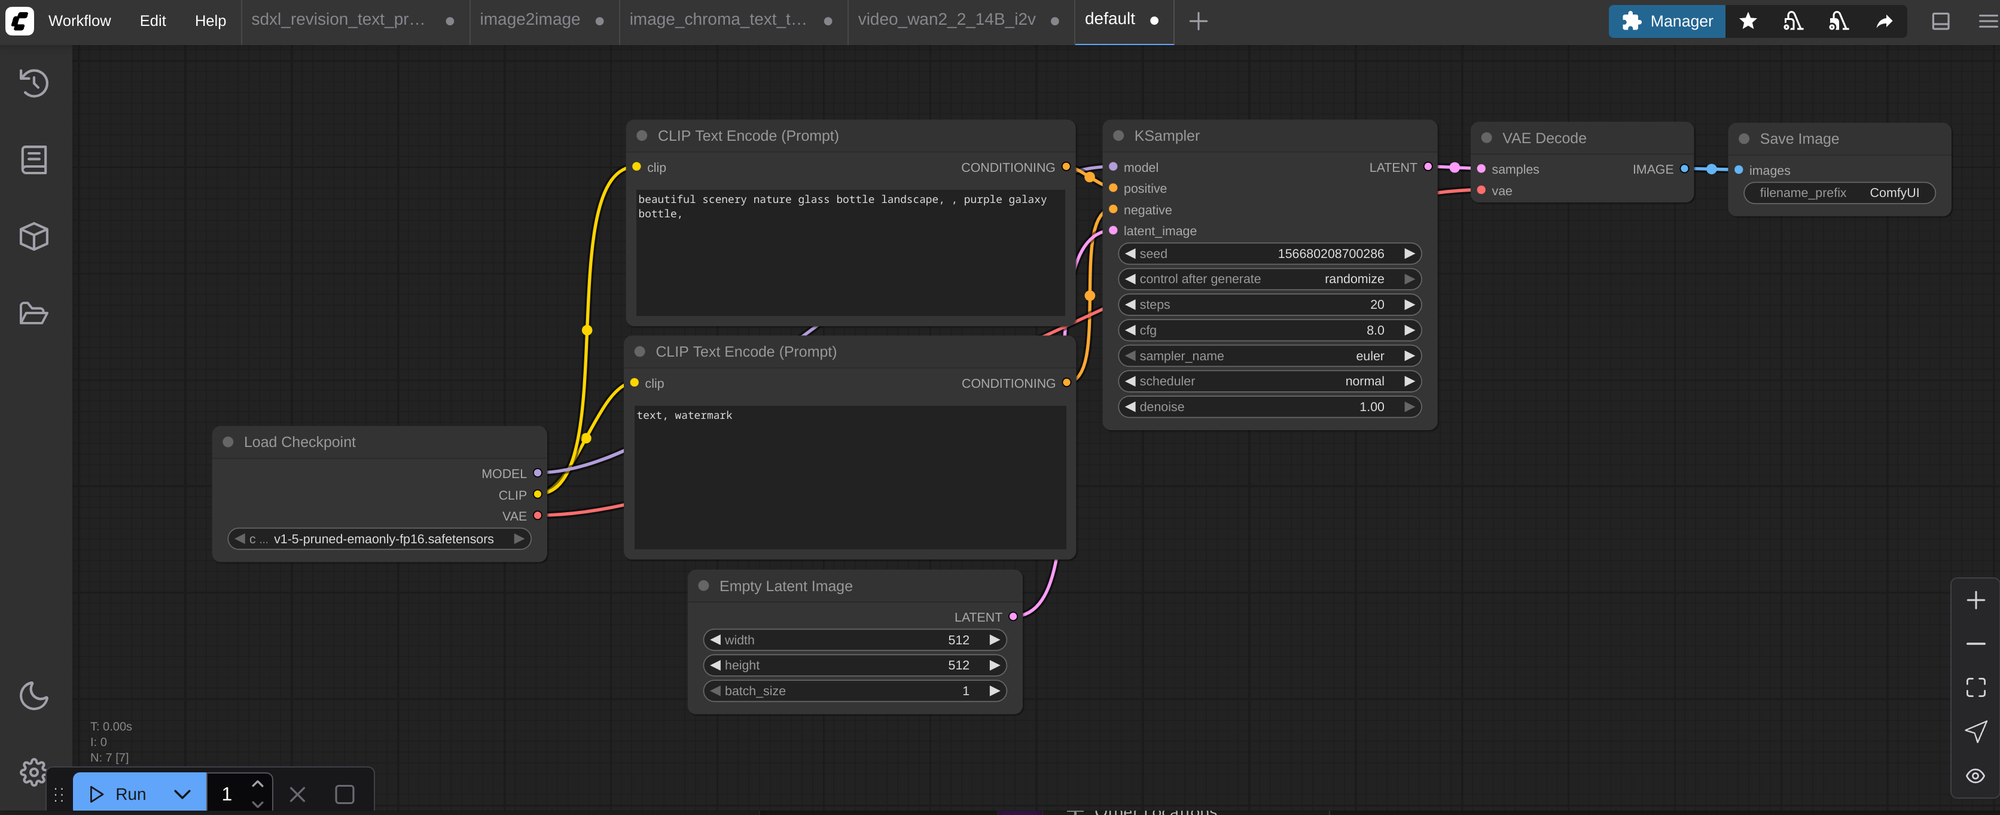
Bam its running, but when you try to run you will get an error to add the needed models. If you dont get prompted for the files with a download link, under the workflow tab there is the option to browse templates. Choose image generation it should be the first on the list of templates and give you the same default workflow but prompt the missing models with their download links.
Download and add them to each models folder. for example checkpoints/v1-5-pruned-emaonly-fp16.safetensors should be moved to the models/checkpoints folder.
Now either refresh the page or in the manager tab restart. Now run the test workflow

And there it is a starry bottle! Now you have the setup ready to go to expand on with more models and features and whatever comes to mind. This is a base level model as a hello world of sorts but can still create a great deal of images very fast with minimal ram so for certain things its a great fallback.
Comments ()